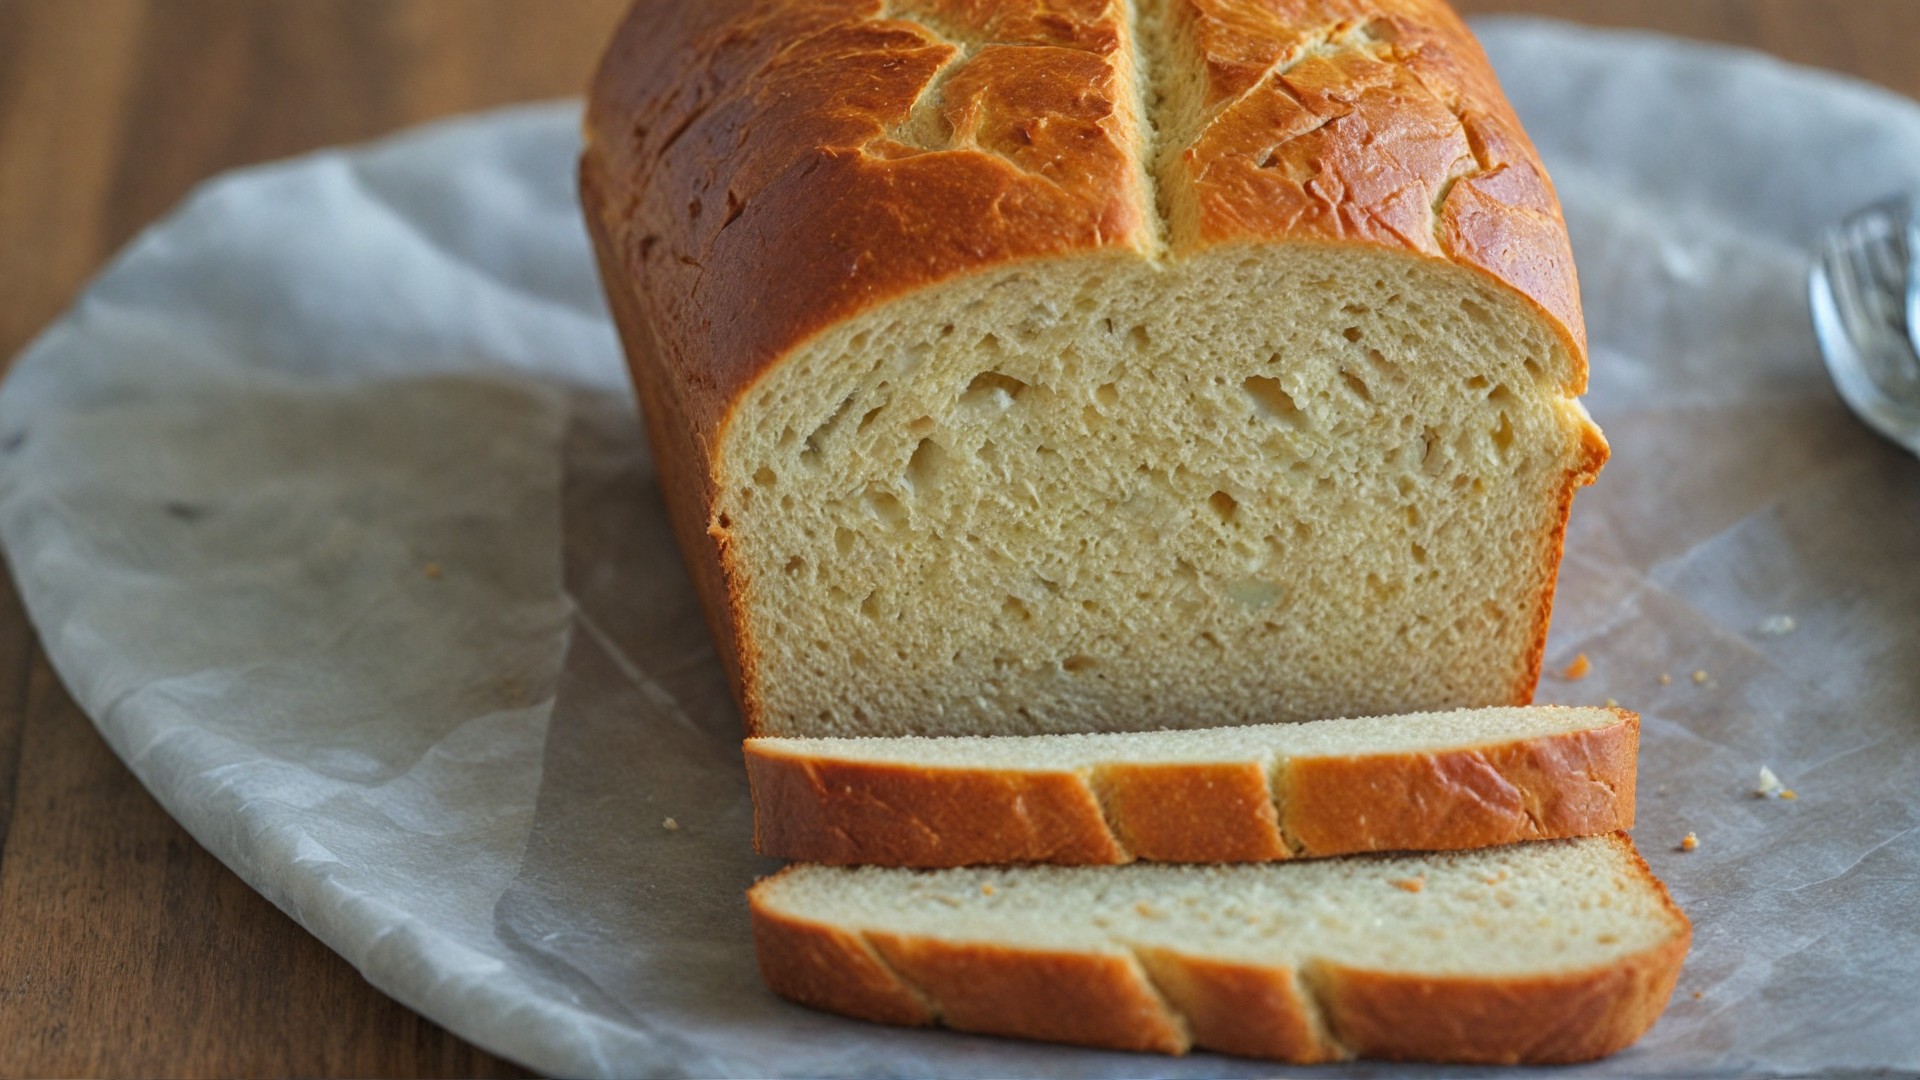
The Ultimate Sandwich Bread Recipe: A Step-by-Step Guide
Homemade bread can elevate your sandwiches. Whether you’re new to bread-making or experienced, this recipe will help you create the perfect loaf. The article covers essential steps, tips, and tricks for making delicious sandwich bread at home. Let’s get started!
Jump to Recipe
- Introduction
- Ingredients You’ll Need
- Equipment to Have on Hand
- How to Make Sandwich Bread
- Tips for Perfect Bread Every Time
- Common Mistakes and Fixes
- Storing and Freezing Your Bread
- How to Serve Sandwich Bread
- Conclusion
- FAQs
1. Introduction
Bread making can be intimidating, but once you get the hang of it, it’s rewarding. This sandwich bread recipe is simple and perfect for everything from PB&Js to gourmet grilled cheese sandwiches. With patience, you’ll have a golden, fragrant loaf in no time.
2. Ingredients You’ll Need
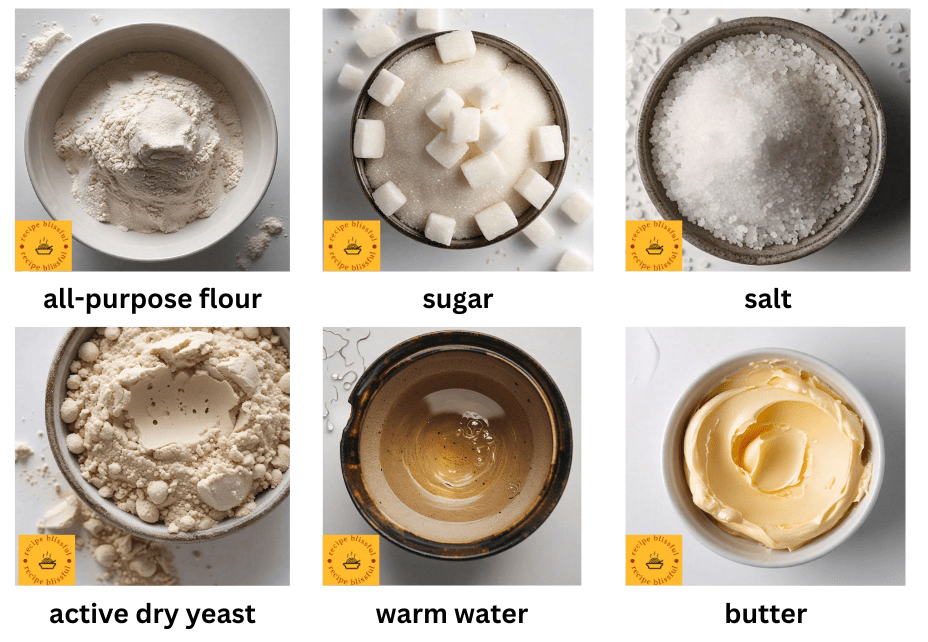
Before starting, gather these ingredients:
- 4 cups all-purpose flour
- 2 tbsp sugar
- 2 tsp salt
- 2 tsp active dry yeast
- 1 ½ cups warm water (around 110°F)
- 2 tbsp butter (softened)
These basic ingredients are key to achieving the right texture and flavor for your sandwich bread. The combination of yeast and warm water gives the bread its rise, while butter ensures a soft, tender crumb.
3. Equipment to Have on Hand
You’ll need the following:
- Large mixing bowl
- Measuring cups and spoons
- Dough hook or hand mixer (optional)
- Clean kitchen towel
- Loaf pan
- Wire rack for cooling
If you have a stand mixer with a dough hook, this will make kneading the dough easier, but you can also do it by hand.
4. How to Make Sandwich Bread
Let’s break it down step-by-step to make this process as smooth as possible.
5. Step 1: Mixing the Dough
Start by activating the yeast. In a small bowl, combine the warm water with the sugar and yeast. Let it sit for 5-10 minutes until frothy.
Next, in a large mixing bowl, combine the flour and salt. Add in the softened butter, and then slowly pour in the yeast mixture. Mix everything until a dough begins to form. You can use your hands or a mixer for this step.
6. Step 2: Kneading the Dough
Kneading is essential for developing gluten, which gives the bread its structure. Turn the dough out onto a lightly floured surface and knead for 8-10 minutes until the dough is smooth and elastic. If the dough feels too sticky, add a little more flour, one tablespoon at a time.
If using a stand mixer, knead on medium speed with the dough hook attachment for about 5 minutes.
7. Step 3: First Rise
Once kneaded, place the dough in a lightly oiled bowl, cover it with a clean kitchen towel, and let it rise in a warm spot for about 1 to 1.5 hours. The dough should double in size. A good metaphor here is to think of it like a balloon slowly inflating!
8. Step 4: Shaping the Dough
After the dough has risen, gently punch it down to release the gas bubbles. Shape the dough into a rectangle and then roll it tightly into a loaf shape. Place the dough seam-side down into a greased loaf pan.
9. Step 5: Second Rise
Cover the loaf pan with the towel again and let the dough rise for another 45 minutes to an hour. It should rise to about 1 inch above the rim of the pan.
10. Step 6: Baking the Bread
Preheat your oven to 350°F (175°C). Bake the bread for 30-35 minutes until the top is golden brown and the bread sounds hollow when tapped. You can also use a thermometer to check the internal temperature; it should read around 190°F.
try now Ultimate Guide to the Perfect Meatloaf Recipe
11. Tips for Perfect Bread Every Time
- Check your yeast: Make sure your yeast is fresh. Expired yeast will prevent the dough from rising properly.
- Use warm, not hot, water: Hot water can kill the yeast, while water that’s too cold won’t activate it.
- Don’t rush the rise: Give the dough ample time to rise, as this affects the final texture.
12. Common Mistakes and Fixes
- Dough didn’t rise: This could be due to expired yeast or using water that was too hot or cold.
- Bread is too dense: This usually means the dough wasn’t kneaded long enough to develop gluten.
- Crust is too hard: This may be caused by over-baking or a too-hot oven.
13. Storing and Freezing Your Bread
Once cooled, store your sandwich bread in an airtight container or bag to maintain its freshness. It will last at room temperature for 3-4 days. To freeze, wrap the loaf tightly in plastic wrap and aluminum foil, then place it in the freezer for up to 3 months.
14. How to Serve Sandwich Bread
This bread is versatile and can be used in endless ways:
- Classic sandwiches: Use it for ham and cheese, turkey, or vegetarian sandwiches.
- Toast it: A thick slice toasted with butter and jam is perfect for breakfast.
- Grilled sandwiches: The soft crumb holds up well to grilling, making it ideal for paninis or grilled cheese.
15. Conclusion
Baking your own sandwich bread may require a bit of time, but the results are well worth it. This recipe is perfect for beginners and experienced bakers alike, producing a soft, flavorful loaf that will elevate any sandwich. Plus, there’s nothing quite like the aroma of freshly baked bread filling your kitchen.
16. FAQs
1. Can I use whole wheat flour for this sandwich bread recipe?
Yes, you can substitute up to 50% of the all-purpose flour with whole wheat flour. This will give the bread a denser texture and a nuttier flavor.
2. How can I make the bread softer?
Adding a tablespoon of milk powder or replacing some of the water with milk can create a softer loaf.
3. Can I make this recipe without a loaf pan?
Yes, you can shape the dough into a round loaf and bake it on a baking sheet, though it won’t have the traditional sandwich loaf shape.
4. Why did my bread collapse after baking?
Bread may collapse if it over-proofed (rose too much) or if the oven wasn’t preheated properly before baking.
5. How can I tell if the bread is done without a thermometer?
The bread is done when it sounds hollow when tapped on the bottom, or if a toothpick inserted in the center comes out clean.
